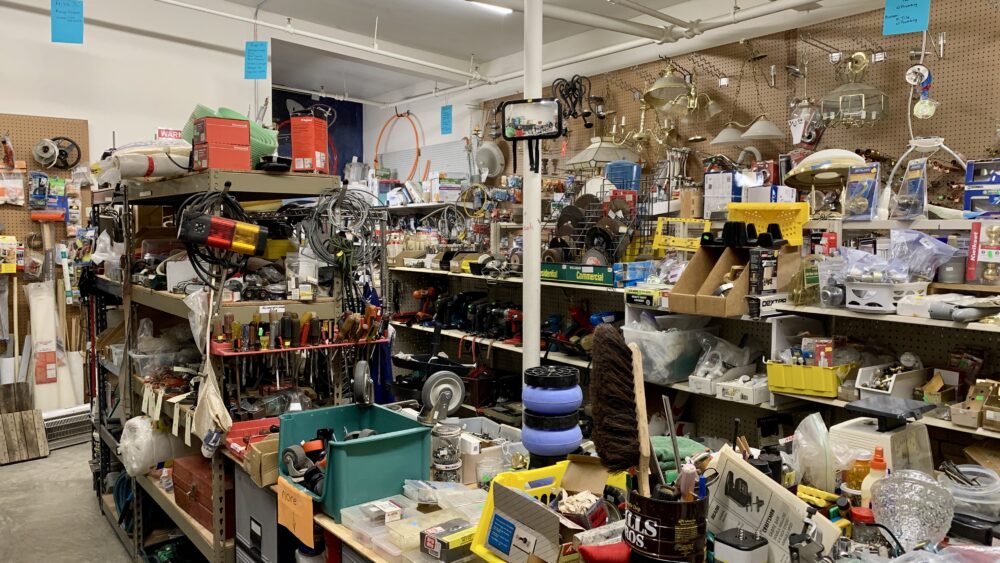
You never know what you might find at Habitat for Humanity ReStore – that’s why it’s such a thrilling shopping experience.
Furniture for sale at Habitat ReStore is in great condition as is, but some pieces that are perceived as outdated may get overlooked. That’s where the creative DIYer can find their best inspiration. With a little ingenuity and elbow grease, you can transform almost any piece of furniture into something completely different, completely fun and completely exciting.
Of course, when purchasing used furniture – even at great ReStore prices – you should consider the whole piece, your furniture needs and your own abilities if you plan on turning it into your next DIY upcycle project.
Need DIY inspiration?
Scouring Pinterest is a great way to gather upcycled furniture ideas before you even leave the house; it’s a great way to embrace the possibilities. Then go straight to the nearest Habitat ReStore and open your eyes in new ways. You may not find the exact furniture match, but if you keep your mind open you can find a gem of a project. Before you take that find to the register, consider the following:
- Checklist for selecting furniture for a DIY upcycle project
- Is the furniture piece solid?
- Does it need any reinforcement?
- Is it the right size for the area you have available?
- Does the piece feature dovetail joints, which are generally the strongest wood joints?
- What are the estimated costs of improvements?
- Is your skill level up to the task?
Now that we’ve factored in what to look for in a furniture find, here’s what to do after you get it home.
Steps for completing your next DIY furniture makeover
Head back to Pinterest to get redesign ideas specific to the piece you’ve chosen.
- Bring out the drill, saw, nails, staple gun – whatever’s in your arsenal.
- Strip down the piece, removing trim or features you don’t want.
- Build up the features you do want: add a shelf, permanently remove doors, swap out legs – anything that fits your new vision for the piece.
- Reinforce any features that need regluing or tacking.
- Sand and prime, if necessary.
- Consider upgrading the hardware. This little effort can provide a lot of return.
- Paint. If you are using chalk paint or want to give surfaces extra protection, finish with a water-based polyurethane.
Some essential tools for DIYing
- Hammer
- Spray paint
- Tabletop saw
- Multi-tool
- Utility knife
- Impact driver
- Miter saw
- Oscillating tool
- Tape measure
- Wood glue
- Sand paper or sander


Comments are closed.